How to make 22 Grendel brass
- Reloading_allday
- Aug 14, 2021
- 6 min read
Updated: Dec 8, 2022

In order to make 22 Grendel brass conceptually all you need to do is to neck down 6.5 Grendel brass to accept the .224 diameter bullets. It sounds simple, but there are many ways to do this procedure, all with various pros and cons. I will explain them step by step and note some of the problems you may run into with different aspects like bushing dies, neck dies, full length dies, bushing sizes, mandrels, neck turning, brass alloys, and even brass forming issues.
Types of dies to form 6.5 Grendel into 22 Grendel
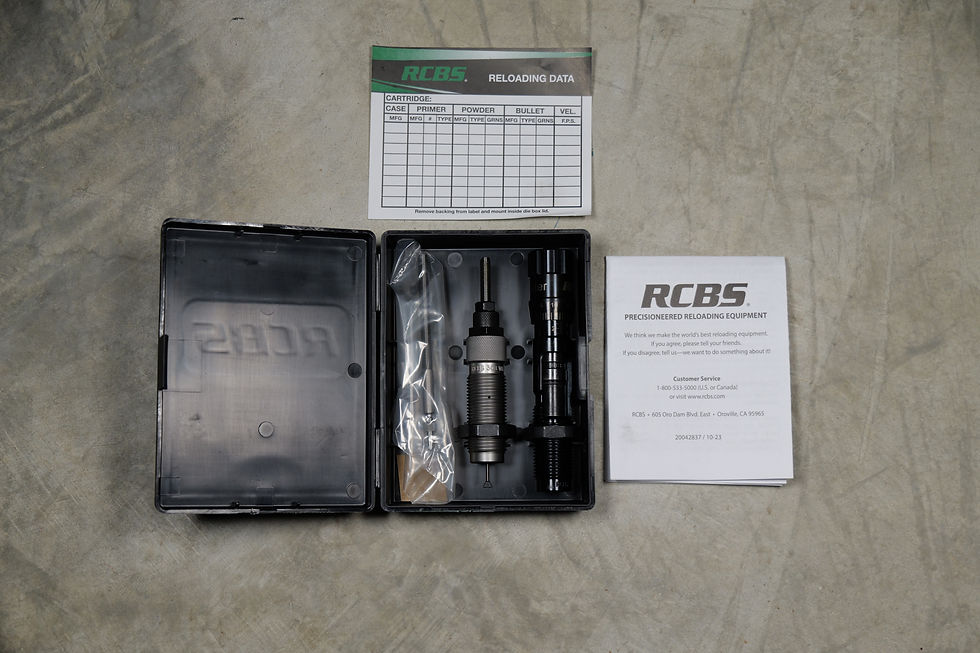
1. Full-length bushing dies
Traditionally, many individuals like to use full-length bushing dies to perform the process of necking down various cartridges. What is nice about full-length bushing dies is that you can interchange different diameter bushings for the necking down process. For example, the bushings diameters I used were .276, .263, .253, .252, and .250. Why so many different diameters?
The first few bushings do most of the work, squeezing down the neck in small increments instead of all at once. This allows you to anneal the case several times throughout the process in order to avoid excessively work hardening the neck. That brass has to compress a tremendous distance which causes a lot of internal stress and work hardening, so annealing after each step is recommended to return the brass to a more workable state and relieve the stresses. This ultimately results in a more consistent case. Be careful if you do anneal, because if you accidentally over-anneal and make the brass too soft, this can cause the neck to fold.
Then you have additional bushings like the .253, .252, and .250 to size your neck down after being fired and allowing for a mandrel to be used to set your exact neck tension.
The downside to the full-length bushing die is that it inherently does not size the full neck. What can happen is that when stepping down in bushing size, it can form an "outward" ring or "fold" from the brass not sizing all the way down as seen in picture 1. Now, depending upon the brass manufacturer, alloy composition, and grain size, some brands can be inherently harder than others, causing this issue to be more pronounced. It also depends on neck thickness. Many reloaders are reporting success with Starline, Hornady, and Remington cases without this happening very much.

Further, you can also run into the issue of pushing too much brass into the shoulder area as well, which, can cause a "bulge." If you are neck-turning, depending upon how pronounced this bulge is, you may not be able to adequately turn your necks without cutting too deep into the shoulder. This is because the bulge is now changing the normal shoulder angle of the brass as you can see in picture 2. This can happen from necking down too far with harder virgin brass. After fire forming, this isn't much of a concern. However, it can headspace differently before fire forming because of the bulge. Picture 3 is the neck turning issue caused by the angle of the shoulder changing from the brass being pushed into the shoulder when forming. Right where the neck meets the shoulder or the "neck-shoulder junction area" will be skipped because the cutter itself is being limited by the bulge.


2. Neck sizing and full-length dies
Once you have fully neck-sized your brass down to the proper diameter, you are ready to fire form. You will need a full-length body die to bump the shoulder back when resizing, then proceed to use the correct bushing with your neck sizing die to set the neck back to its proper tension.
3. Full-length dies
The other method of forming the brass is by using a custom full-length die or a 22 PPC full-length die. While full-length dies will be able to fully form your brass, the necking down operation happens all in one step, which means, the work hardening happens all at once. That can leave a lot of stress in the neck and can be less repeatable than taking smaller "bites." If you choose to size it down all in one go, annealing will greatly help after that one pass. The downside of using a full-length die is that you can't set your neck tension the way you can by choosing a bushing diameter. However, this will act as not only your necking down die, but will also be your standard resizing die after you have fireformed, just like a full-length bushing die. Both types of dies will allow you to neck down, fireform, size your neck and bump your shoulder as well.
Steps for after necking down the 6.5 Grendel into the 22 Grendel
I personally chose the neck die-only sizing route and using a full-length body die to set my shoulder bump because I plan on setting my neck tension and also neck turning. However, now that the brass is formed, I would opt for a full-length bushing die for quicker resizing. As a result, some of the steps that I would recommend is also neck turning. The Lapua brass is thick after necking down. Right now, without neck turning, they are at 0.0150-0.0153". Is neck turning absolutely necessary? Of course not, especially if you have a no-neck turn chamber as I do. Having a no-neck turn chamber does not mean that you cannot neck-turn, it just means you don't have to necessarily if you do not personally see the need. I am personally trying to neck turn to squeeze the utmost consistency out of this cartridge that I can, but your priorities and goals for the cartridge may be different than mine. Further, I would use a mandrel to set your neck tension. If you are planning on neck turning, you need a mandrel anyway to do so. This will push all the imperfections from the inside to the outside of the neck. Plus, the mandrel will allow you to easily set your neck tension after sizing your neck down with the bushings.
I have included below a short video on the process of using a neck die and what you can expect from the process. I highly recommend using a fair bit of lube on the necks as well. Moreover, once the bushing is installed as you see in the video, you can go ahead and use that same bushing for all of your brass. In order, install the .276 bushing, neck size all of your cases, anneal, swap the bushing from .276 to .263, size all of your cases, anneal, and so on.
Further, the methodology I am using for necking down is not necessarily the only way to do things, it is just a personal preference. Any methodology above will work just fine. Too bad companies haven't jumped on the wagon for making brass for this yet! It sure would make things a lot easier.
I have included below a picture sent from UpRiver Precision Arms of a group he made on a Howa-mini he built, with only 15 rounds down the barrel on the fireforming process. 85.5 grain Bergers going 2956 FPS with an SD of 4.5. He also sent over a higher node with the same projectile going 3036 with an SD of 5.5. This cartridge has amazing capabilities, to say the least. Stick around for our next articles on the complete rifle build and load workup.

Thank you for reading! If you are interested in learning how to reload or are an experienced handloader looking to learn how internal ballistics works to significantly cut down on load development time you can find our classes here

Disclaimer: The content you are about to read is for demonstration purposes only. This includes videos, blog posts, articles, and all information associated with this website. Do not attempt anything you see on this website. Again, these are for demonstration purposes only. If you see reloading data and or comments, please refer to the manufacturer of your choice and contact a technician. We are not responsible for any false data or comments from individuals. Again, this is a demonstration for reloading. Please contact or take classes from certified reloading instructors or contact the manufacturer of your choice. Please, do not attempt to tamper or modify with ammunition or firearms. Seek out a licensed professional or gunsmith. Any information you watch or read on this website must be assumed to have an error and should not be performed. Reloadingallday will not and cannot be held responsible for harm caused to readers and watchers. The material that is covered is for demonstration purposes only. Please be aware that hand-loading and other topics covered are very dangerous and you are within full responsibility and liability for your actions. Reloadingallday is also not responsible or liable for any damage that might be caused due to those who enter this website and read any of our material or watch. Again, this is for demonstration purposes only. By reading this article, you are agreeing that you are responsible for yourself, everyone around you, watchers, viewers, commentators, and fans. You are also agreeing that you are responsible for the safety and property as follows: yourself, everyone around you, watchers, viewers, commentators, and fans. Also, you are accepting that you agree with everything this disclaimer has written down.
Keep in mind that we may receive commissions when you click our links and make purchases. However, this does not impact our reviews and comparisons. We try our best to keep things fair and balanced, in order to help you make the best choice for you.


Comments