Precision Rifle Case Preparation
- Reloading_allday

- Jan 15, 2020
- 12 min read
Updated: Jan 21, 2024
How To Prep Your Rifle Cases For Precision Shooting
The first step to prepping your brass for precision is to choose the right brass.

This "GIF" is probably what you are saying because you think I'm some random writer about to bash your favorite brand and try and sell you on why "x" companies brass is better than the other. However, I'm not here to do that. I am here to tell you what things to look for when researching some of your favorite brands.
The first thing that you should be concerned with is how consistent neck-wall thickness is, brass weight consistency, longevity, concentricity, case capacity, and even how primer flash holes are formed of the brand of your choosing and more.
However, let's just start by talking about how to prepare your once-fired brass so that it will help eliminate any unwanted inconsistencies. There‘s a billion ways to do this, you might have a different method, and that's great. Here's how I do it, in hopes that it might help out some new reloaders.
1. Cleaning your brass.
Now, I'm not going to tell you how to clean your brass and this is pretty self-explanatory. Make sure the insides of your primer pockets are clean. I'd recommend using a tool like this so you can easily remove the primers from your brass before cleaning. If you leave those primers inside your brass while cleaning, good luck removing everything that builds up inside the pocket. If you have some secret formula on how to get inside the primer pockets and make them mirror finish without having to remove the primers, please let me know. You got a million-dollar idea. Of course, I'm sure if you wet tumble for 3 days it will probably be pretty clean. "But, who has got time for that?" I certainly don't.
Cleaning your brass will also protect your die and help you inspect for case cracks. Let's be honest, I'm sure there are a few guys in here who pride themselves on how shiny they can get their brass. For god's sake, some of your guy's stuff I swear I can see my reflection from looking at it through my phone!
Regardless, if you let residue constantly build up in your dies, you can scratch your brass and it will eventually lead to the degradation of your dies.
2. Primer Pockets Checking and Deburring
After cleaning your brass, you will now want to inspect your cases for cracks and your primer pockets. You can now visually see with clean brass if you have any burrs inside of your flash holes. Even with new brass, you should be checking your flash holes for burrs. It ultimately boils down to how flash holes are made.
Note: I'd also like to add that checking primer pockets and the inside of cases is important because you can see, depending on how you clean your brass if there is anything inside of the flash holes. I use stainless steel media pins for wet tumbling and sometimes I've found that those little pins can get stuck inside of the cases. Even with dry media, those little suckers can plug up the flash hole as well.
"Why does it matter how primer flash holes are made?"
Ultimately what happens is, if primer pockets are not drilled, sometimes the "punching" process of forming the flash hole can make burrs inside the brass. Luckily, there are tools like this one: Deburring tool that can remove those burs. However, when using a tool like this, you can make things worse by making the flash hole bigger. You need to be super careful when using one of these. On another note, if you have ever drilled something on a drill press, you notice there are sometimes burrs left over. It's good to visually inspect your cases no matter how the primer pocket is formed and also to make sure that the flash hole is center.
"What do the burrs cause in the flash holes?"
Inconsistent ignition because of obstructions in the way, theoretically.
Ultimately, you should be choosing a brand of brass that is considered premium to help keep your reloading process as consistent as possible to eliminate all variables.
3. Primer Pocket Uniforming
The next crucial step after you have deburred any obstructions in the flash hole is to use a primer pocket uniforming tool.
"Why should I uniform my primer pockets?"
This will help you eliminate other unwanted variables, specifically, variation in firing pin impacts. If things are not properly aligned when your firing pin strikes the primer, it will cause differences in the ignition of the powder. To elaborate, what happens when the firing pin strikes the primer, the anvil of the primer will cause a detonation, in return, send a spark into the flash hole that ignites your powder. If your primer is sitting too high or too low, then it will cause different points of impact from your firing pin hitting your primer, which in return, will cause variations in the ignition of the powder. There is a case to be made about ignition timing as well, which, as of the date this article has been written there is still speculation of what is truly going on.
Making the primer pockets the same depth and shape can go a long way.
Now, I will add that if you are buying premium brass you shouldn't have to worry about steps 2 and 3. I will say though, that I have found many burs in new brass, even drilled primer holes. New and once fired brass.
Some will argue that steps 2 and 3 are completely unnecessary. I highly recommend conducting your own testing to see if it makes a change for you and your shooting application.
Quick note: This tool will help you if you want to see if your primer pockets are too big or too small, and your depth. This is handy for checking new brass and your once fired. It's essentially a "no-go" gauge for primer pockets.
4. Headspace
The next step after you uniform your primer pockets will be to check headspace.
To check headspace, you will need some pretty inexpensive tools for the job. You can find them here
"Why do we check headspace on brass?"
We check the headspace on brass so that we can set our die up to set the shoulder back consistently, to allow for easy chambering. This way, it won't overwork and diminish the life of the brass.
"How much shoulder set back and how do you measure headspace on brass?"
You will take your once fired brass, that hasn't been resized, and put in inside the comparator and gauge that's attached to your calipers. Don't forget you can find these tools linked above. After you have a solid measurement, you will write that down.
For bolt guns, you will usually set your shoulder back 0.0015-0.002".
For Ar platforms, you will usually set back your shoulder 0.003-0.005".
For example, you measure your once-fired brass to be 1.200" with the comparator and headspace gauge. You will then subtract from that number based on if you have a bolt or gas gun. So, let's say I'm reloading for a bolt gun. You will then subtract by 0.0015" or 0.002", giving you 1.198" if you had subtracted by 0.002".
"How do I use my full-length sizing die to adjust shoulder bump?"
You will learn about that in a second, but first, we have to talk about annealing.
5. Annealing
After you have finished checking and writing down your headspace specifications, you will then anneal
Why Do I Need to Anneal?
Annealing extends your brass life and makes your neck tension more consistent. If you want to read more about it, I'd check this article out.
After you are done annealing, clean your brass to remove any Tempilaq you may have used for the annealing process. I am not personally a huge fan of Templiaq, I recommend setting up your annealer and timing how long the brass has been in the flame. To elaborate, take 10 cases and anneal them for 1 second, 1.5 seconds, 2 seconds...and so on. After you have a group of cases with various times being annealed with an open flame, resize them. Check for spring back. If your cases are springing back .001"+ or more, that means the cases have not been properly annealed yet. You want to look for very minimal, or no spring back at all with your cases.
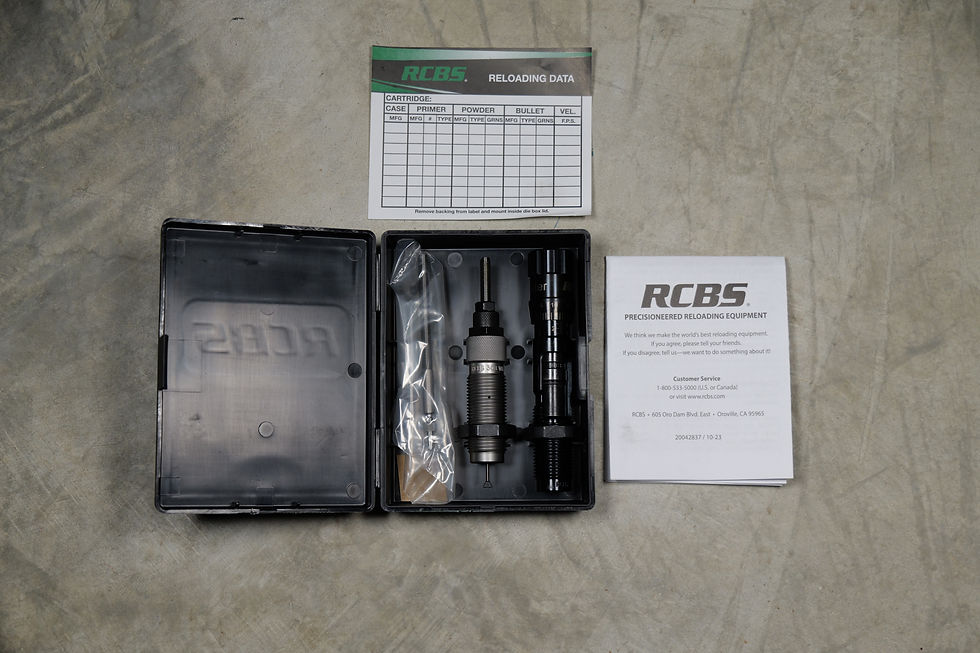
6. Now, it is time for resizing.
Now, the reason I like using the Redding Type S Full-Length Bushing die is that it will allow you to full-length resize and allow you to manipulate your neck tension through interchangeable bushings.
"So, how does it work?"
Just like you probably have now, a full length die, but this allows you to use a bushing. Therefore, you're allowed to take out the expander ball that works the brass a lot and use a bushing in place to set your neck tension. Since this die is also a full-length sizing die, you can also bump your shoulder back. Downside? You have to figure out which bushing you need. Also, if you plan on switching brass a lot-which I'm not sure why you would if you are buying premium brass and it's in stock- you will have to get a different bushing because brass thicknesses vary by brand.
"How do you use the die after annealing?"
I will proceed to size my brass and bump my shoulder back. To bump your shoulder back further, if you find that it's not giving you the measurement you want, you will simply start to slowly turn the resizing die in further into your press. I'd say about 1/8 of a turn. Take your time, don't overdo it. Next, to utilize the bushing, you will adjust your stem so that it resizes the neck of your brass.
"How do you determine your bushing size and how much neck tension is optimal?"
To determine the bushing size, there are a few ways to do it. The easiest way of doing it is simply loading up a dummy round. Measure the case neck with a projectile seated, and subtract 0.001". So, if your neck diameter is 0.320", you will order a 0.319" size bushing. Which will give you .001" neck tension then.
Another method if you don't have a dummy round for reference, is to measure the case neck thickness, multiply it by two, then add your bullet diameter. Then, you will subtract by 0.001"
To measure your case neck thickness accurately, calipers won't work well. You'll need a ball micrometer.
"Why a ball micrometer?"
Because with calipers, you are using a flat surface to measure something curved.
"Sweet! So what's optimal for neck tension?"
That's really up to you. I like .002" neck tension. You can try different size bushings if you want. For gas guns, I prefer using .004-.005" neck tension so that I do not have to crimp my rounds instead.
7. Trim Your Brass
For this step, you should have all of your brass trimmed to the same length. The more accurate, the better. You don't want any inconsistencies. However, if you have your chamber print it is recommended to trim .005-010" from your true max cartridge length.
"Why does trimming your brass to the same length matter?"
Inconsistent brass lengths can lead to increased pressure ring and bullet seating force variations, which can lead to inconsistency downrange.
"What trimmer should I use for brass prep?"
It's really up to you. Just make sure that it is consistent and you are always getting the same lengths. Here's what I use: Wilson Trimmer
I would also recommend picking up a Sinlcair chamber length gauge to accurately determine your chambers true trim length and not just what the reloading manual recommends. You can find more information on how to use it here. Spoiler alert--if you are trimming brass too short this is accelerating the amount of carbon ring present in your chamber.
8. Chamfer and Deburr
After your trimming is completed, depending upon which trimmer you use, you will need to deburr and chamfer your brass. Now, most deburring and chamfering tools, deburr at 45 degrees.
"Why does the angle matter for deburring?"
Because boat tail projectiles will prefer 28 or 30-degree angles tools. Which, will lead to more consistent seating force.
What happens when you don't deburr and chamfer your brass; your projectiles don't want to seat as easily inside your case mouth. Another thing that could happen is from over deburring and chamfering, or even using the wrong angle, is that it will start to shave your projectile away while seating.
9. Weighing out Brass and Checking Neck-wall Thickness.
Let's start with neck-wall thickness and why it's important.
Eccentric rounds are usually caused by inconsistent neck wall thickness, meaning, your seated projectile at the end of the reloading process will not be concentric.

"What the hell did you just say?" Easy, Joe, bare with me here. The first thing you need to do is identify the actual case-neck thickness of your brass. Here's a special tool to do that: Neck Sorting Tool or you can use a ball micrometer. However, the tool linked above will speed up the process
After you have a tool to measure your neck-wall thickness-it doesn't have to be this one, It doesn't matter, just make sure it's accurate otherwise this article will be pointless when you have the look of Joe's face over there and your rounds are still eccentric in the end- is to start separating them by anything that doesn't have all-around consistent neck-wall thicknesses. Premium cases should be consistent, but, you never know. You can perform these same steps you learn on other brands of brass you don't deem to be "premium."
"Why should I separate my brass by neck-wall thickness?"
Large variances in your neck-wall thickness will ultimately affect your overall consistency regarding bullet run-out (for those who don't know, less runout=concentric rounds, eccentric rounds= a lot of runout....runout can be tested when your final round is completed by using this: Runout Gauge. With all this work put in, you want your rounds to be .001" or less. Ideally, you don't want that dial moving at all). Alignment of the projectile to the centerline of the bore is of utmost importance in regard to accuracy. Make sure your rounds have very little runout.
Brass Weight Sorting
Now, over my years of reloading, I've heard hundreds of people say its worth it and hundreds saying it's not. This is entirely up to you. You will be chasing some numbers all over the place. But, I've found this method to be the best: Water weight, weighing.
Brass thicknesses can vary in body thickness and web thickness, therefore, it could give the same weight or it could give an entirely different weight. To elaborate, your brass could weigh the same amount of weight, but simply because your brass has a thicker part in the body that gives it extra weight, compared to another piece of brass that has a thick web, for instance, giving the illusion that they have the same dimensions. The important aspect is the actual volume that the case can hold instead.
I suggest weighing these cases with water and using this to help you plug up the flash holes to give you accurate readings. Nonetheless, consistent volume is of utmost importance for internal ballistics and pressure being generated from the propellent being ignited.
After that is done, start to separate them based on the amount of water each case can hold.
"Why all this work?"
Volume variance will ultimately affect Shot Start. Think about the rise to peak pressure and the propellant that is within it. If you have varying volumes that are varying by a substantial amount, what do you think will happen in an example with 30 grains of powder in a case with 30 grains of water weight, versus 60 grains of water weight?
Change in pressure and velocity.
Now that you have everything prepped and separated, you're off to a great start on making that handcrafted round.
Thank you for reading! If you are interested in learning how to reload or are an experienced handloader looking to learn how internal ballistics works to significantly cut down on load development time you can find our classes here

Disclaimer: The content you are about to read is for demonstration purposes only. This includes videos, blog posts, articles, and all information associated with this website. Do not attempt anything you see on this website. Again, these are for demonstration purposes only. If you see reloading data and or comments, please refer to the manufacturer of your choice and contact a technician. We are not responsible for any false data or comments from individuals. Again, this is a demonstration for reloading. Please contact or take classes from certified reloading instructors or contact the manufacturer of your choice. Please, do not attempt to tamper or modify with ammunition or firearms. Seek out a licensed professional or gunsmith. Any information you watch or read on this website must be assumed to have an error and should not be performed. Reloadingallday will not and cannot be held responsible for harm caused to readers and watchers. The material that is covered is for demonstration purposes only. Please be aware that hand-loading and other topics covered are very dangerous and you are within full responsibility and liability for your actions. Reloadingallday is also not responsible or liable for any damage that might be caused due to those who enter this website and read any of our material or watch. Again, this is for demonstration purposes only. By reading this article, you are agreeing that you are responsible for yourself, everyone around you, watchers, viewers, commenters, and fans. You are also agreeing that you are responsible for the safety and property as follows: yourself, everyone around you, watchers, viewers, commentators, and fans. Also, you are accepting that you agree with everything this disclaimer has written down.
Keep in mind that we may receive commissions when you click our links and make purchases. However, this does not impact our reviews and comparisons. We try our best to keep things fair and balanced, in order to help you make the best choice for you.


Comments